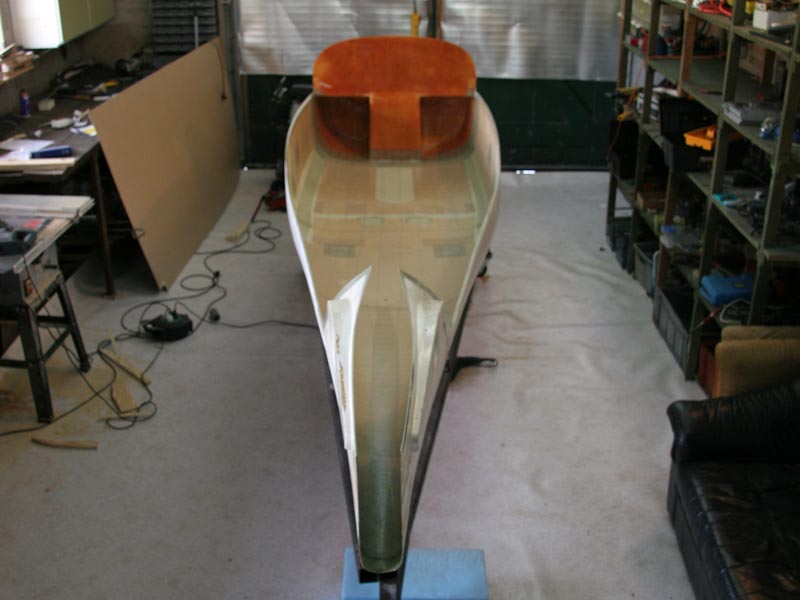
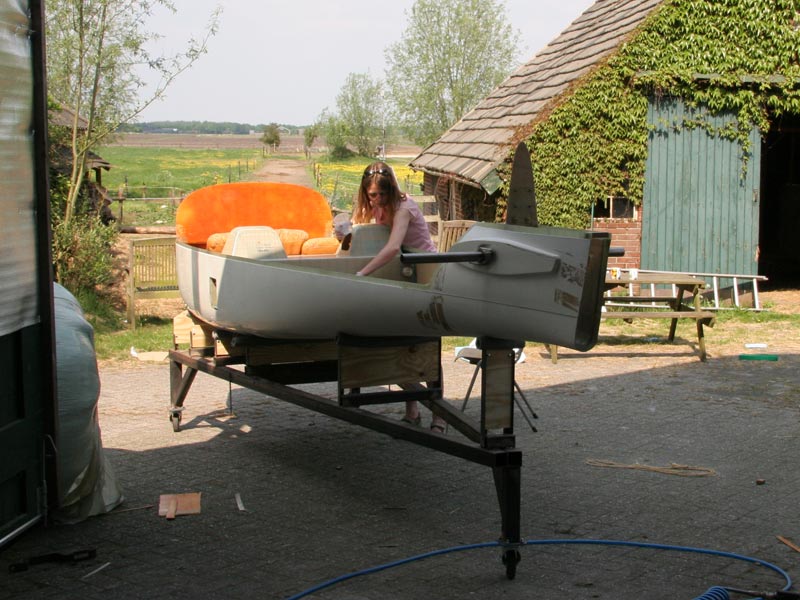
In the beginning, there was a canoe...
The funny looking canoe on a building craddle
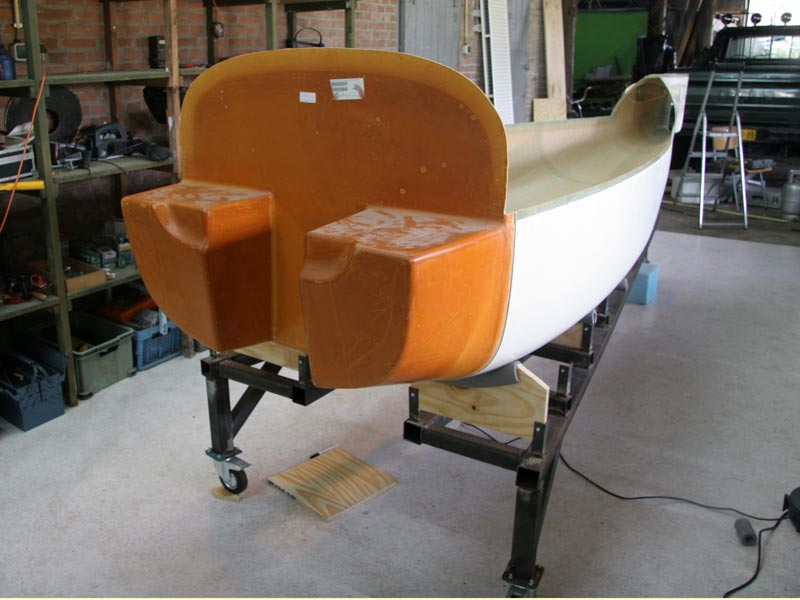
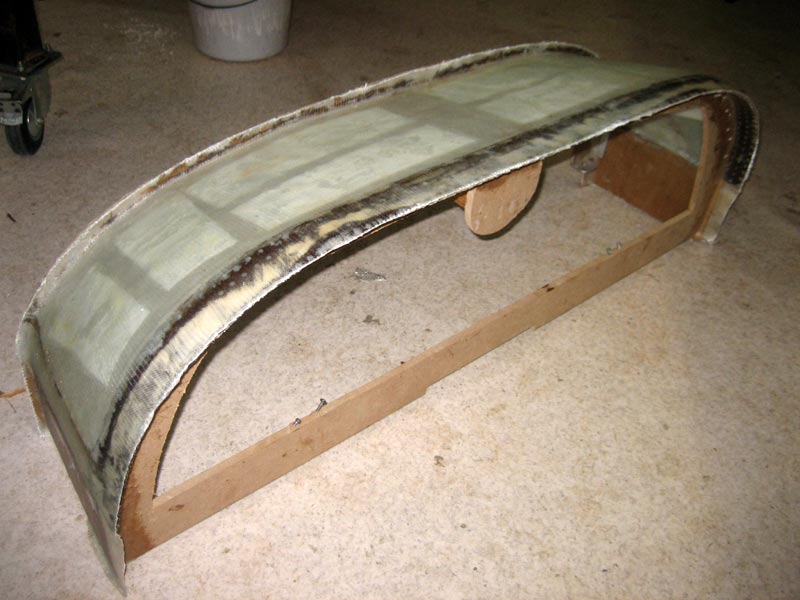
Some of the top half of the airplane.
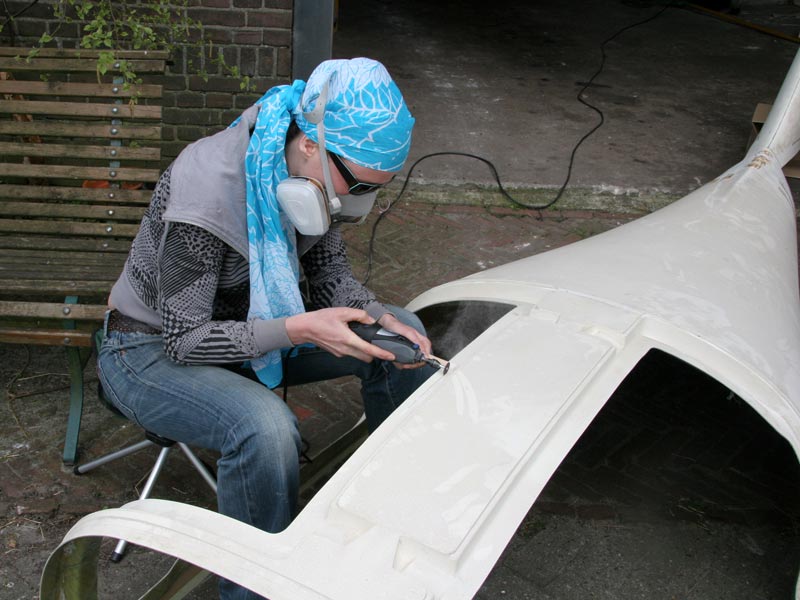
Everything needs to be neathly cut out (and that produces a LOT of dust, that explains my weird outfit ;-) )
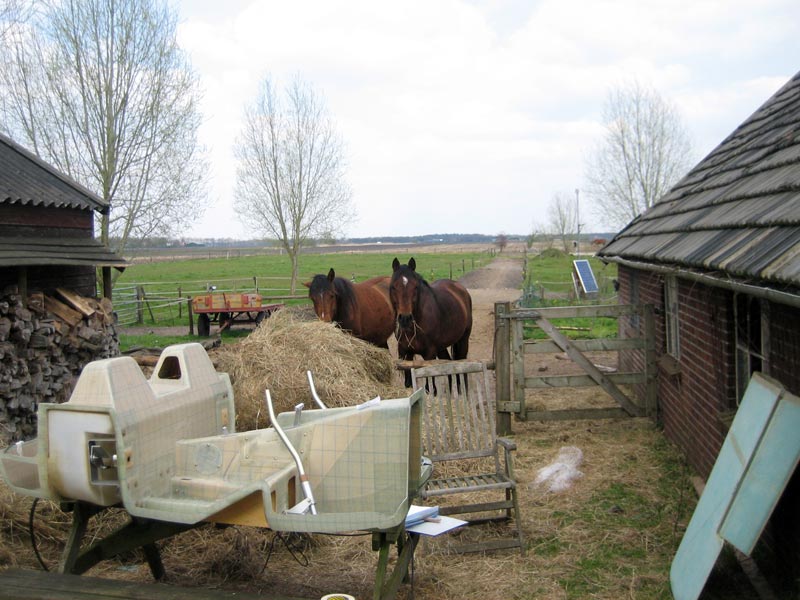
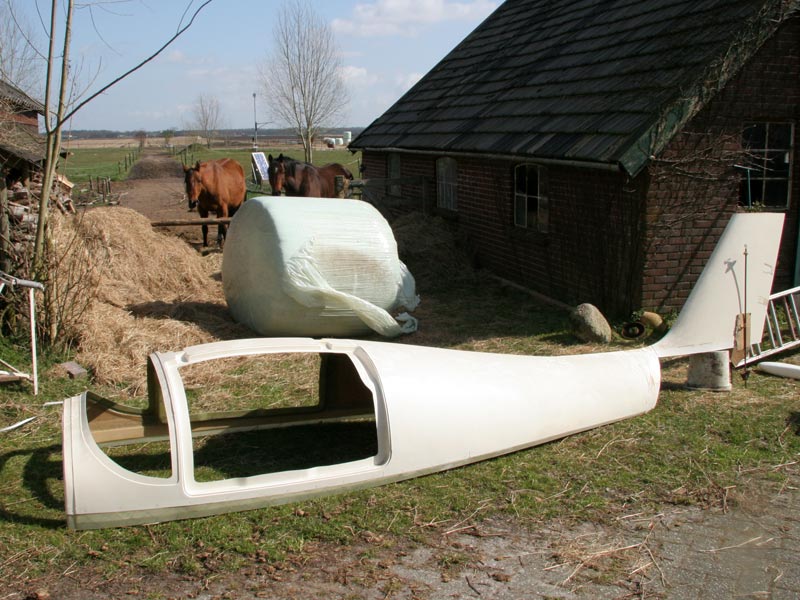
Here you see something that is going to be our cockpit. The horses, especially the one with the darkest coat, were staring a lot at us while we were working on our project.
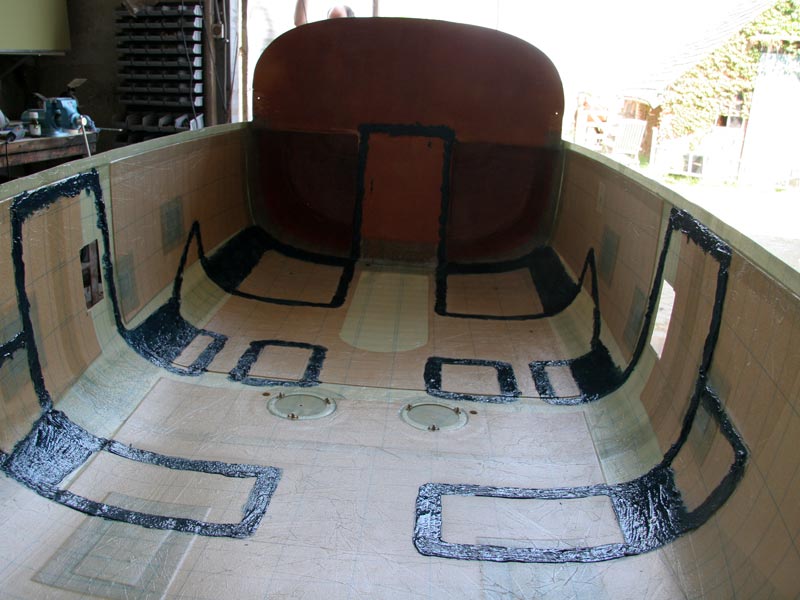
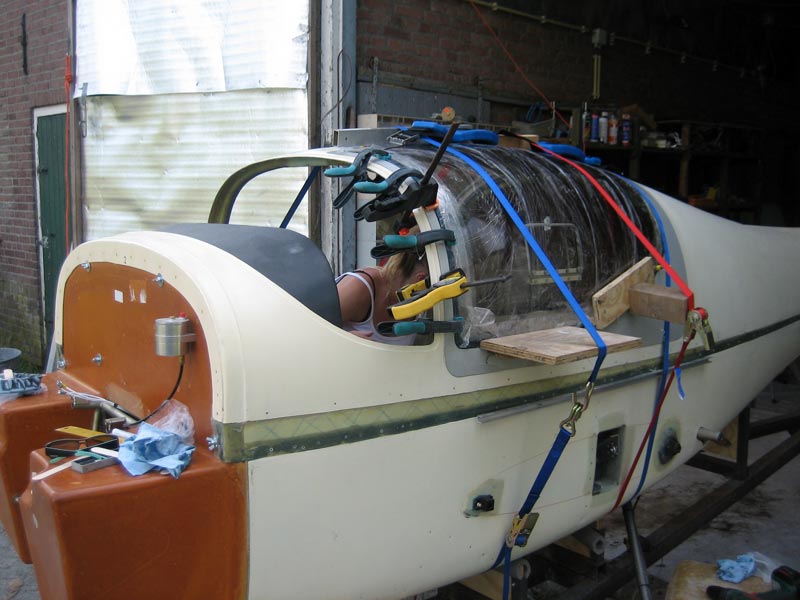
The cockpit module is going to be bonded into place
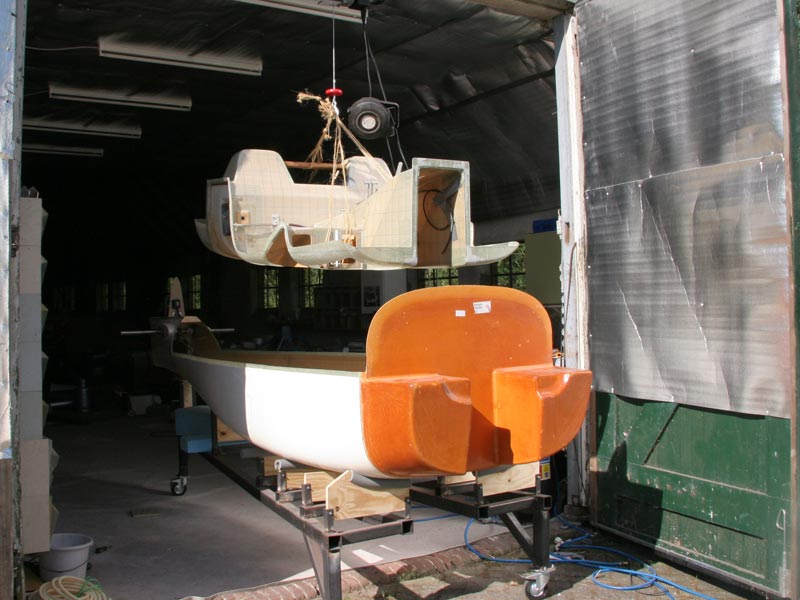
A hoist is handy!
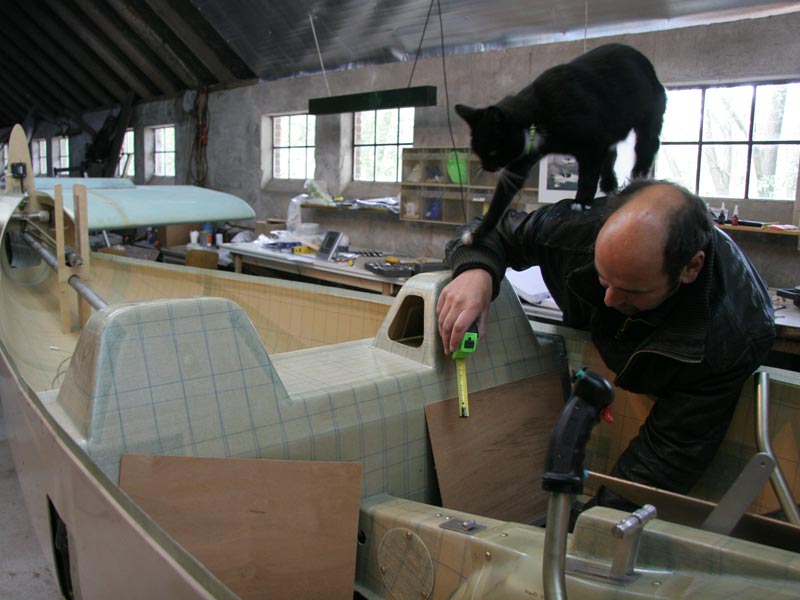
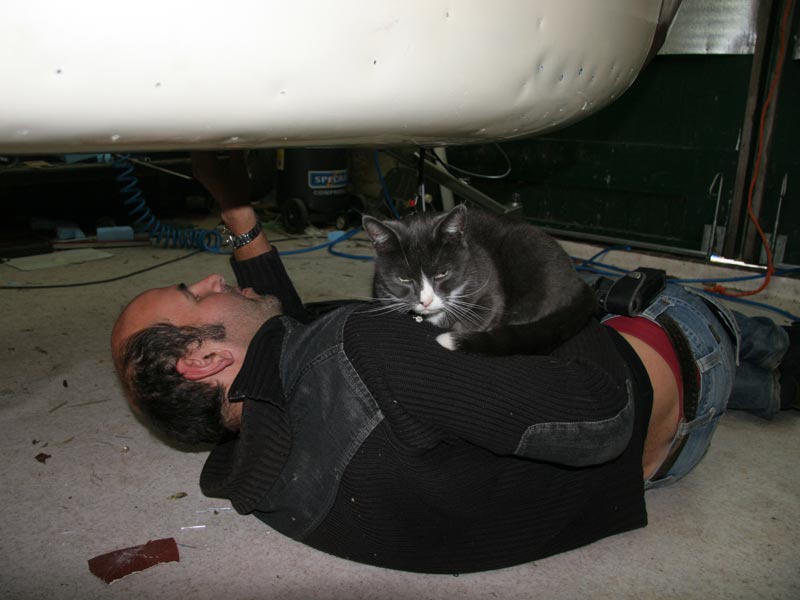
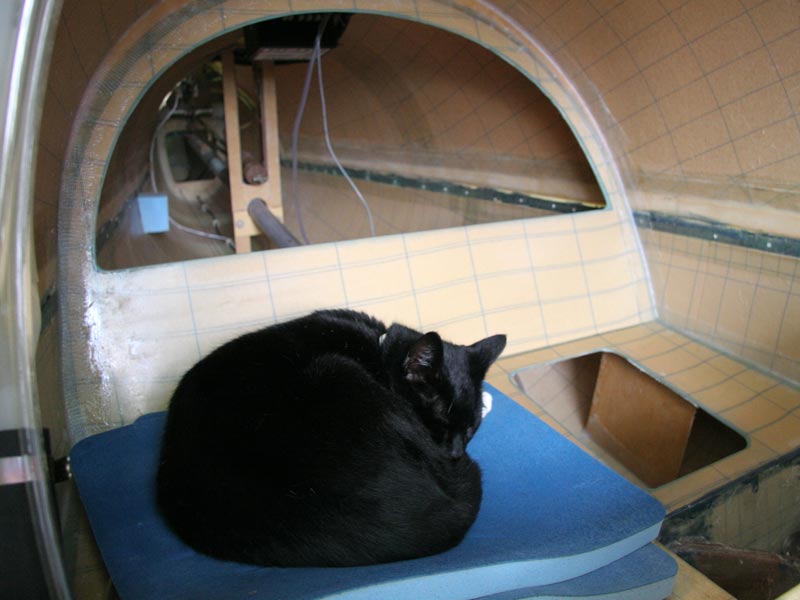
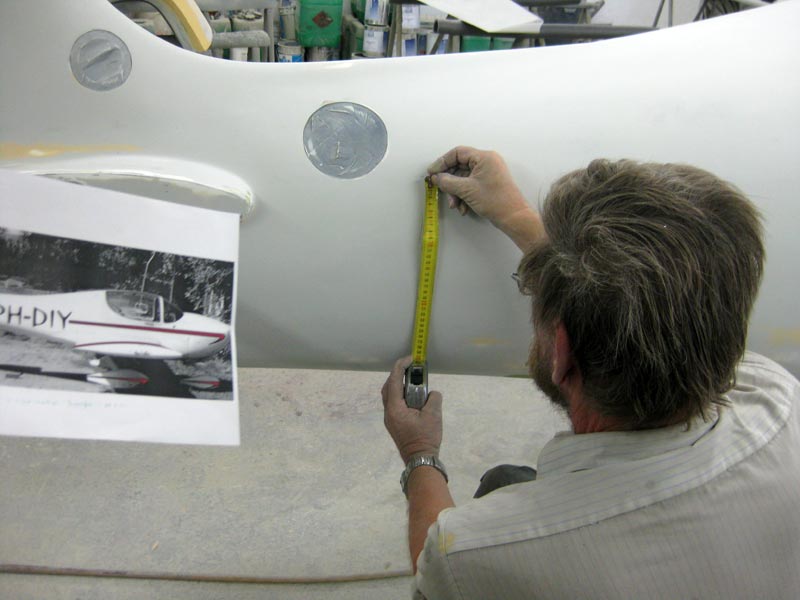
Frans is making some measurements for the seats, but our pesky cat keeps bugging him, until...
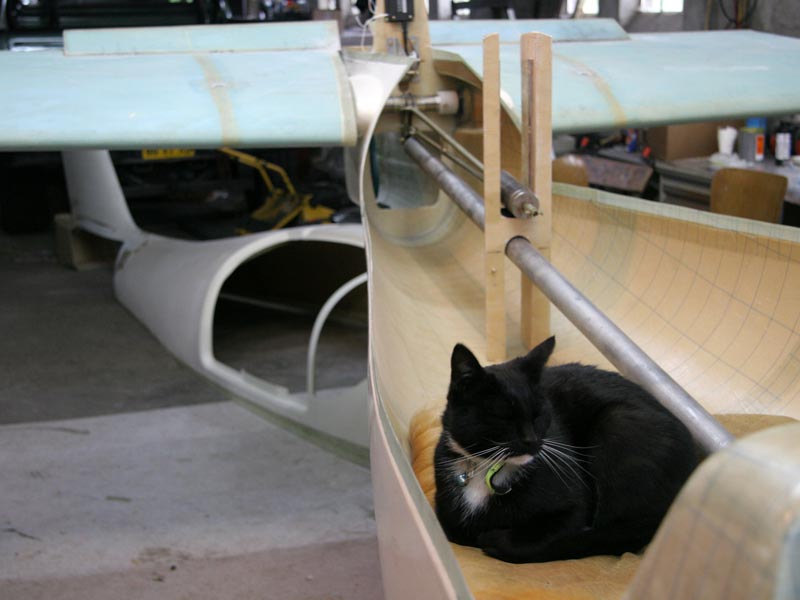
...he gets a comfortable pillow :-)
If the weather cooperates, we work outside. Here I'm working on the landing gear.
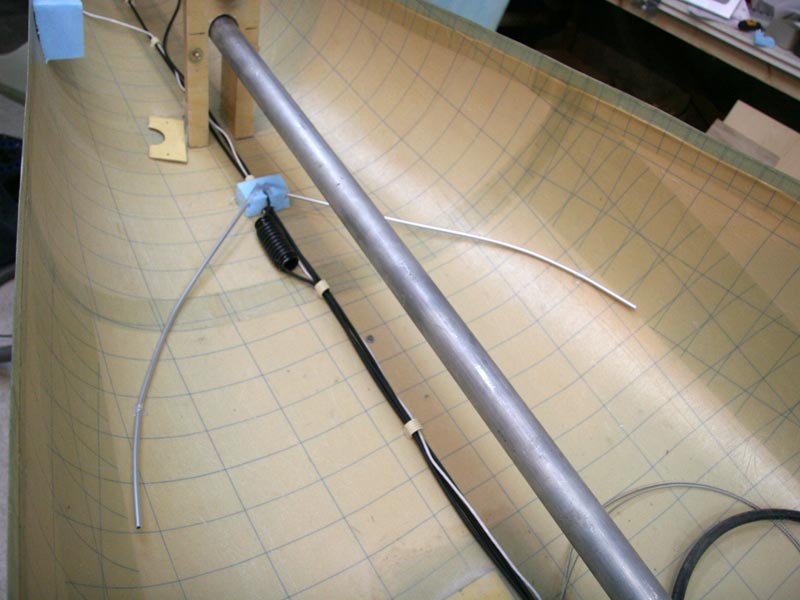
Navigation antenna
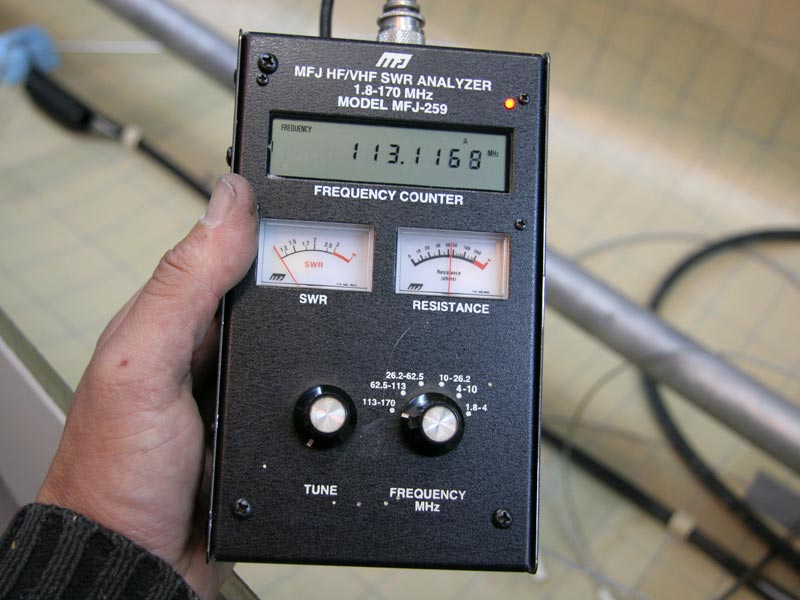
The antenna is tuned in the middle of the VOR-band
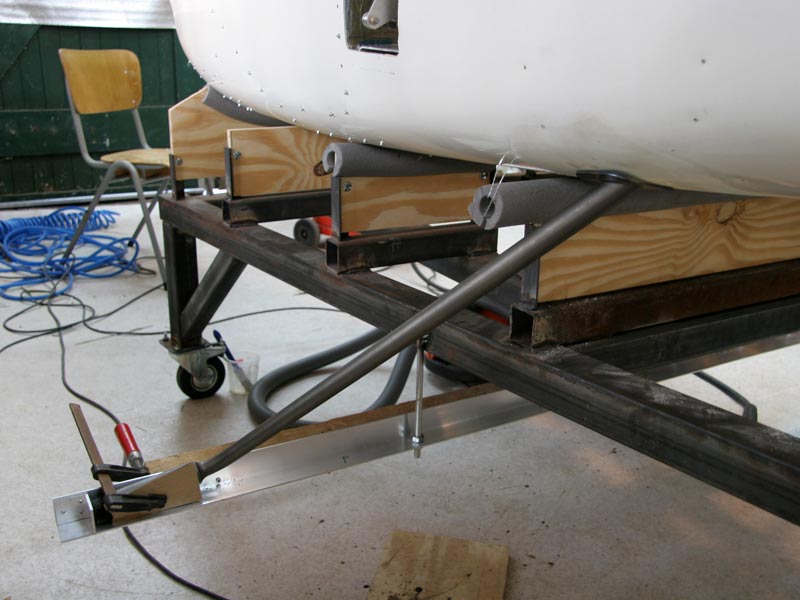
The legs are being kept in place
Landing gear is finished!
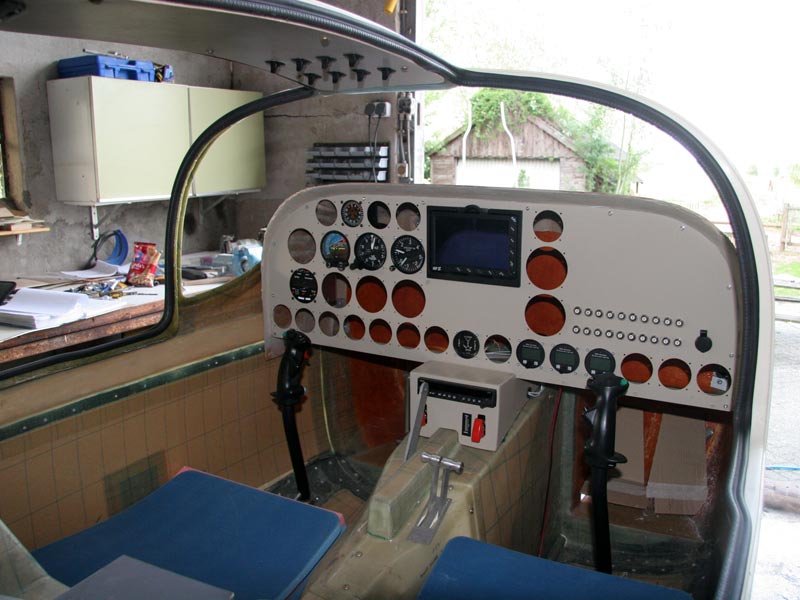
Because we both fly, we preferred to have a wide instrument panel, instead of a picknick-tray in front of the passenger. It was a lot of work to make a good shape for the instrumentpanel, the one you see on the picture is our third attempt and now we are happy with the shape. We made the shape of this final instrumentpanel with clay, that proved to work well.
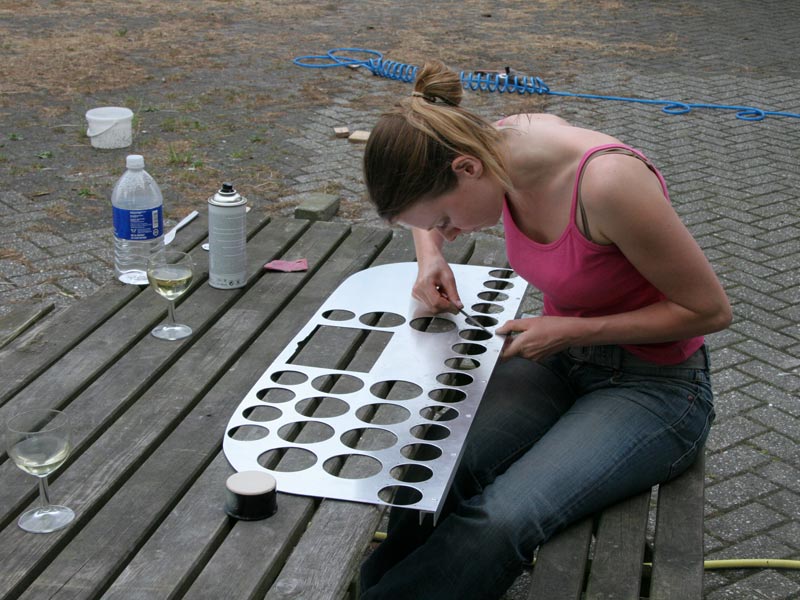
Here Ilona is making the instrumentholes neatly
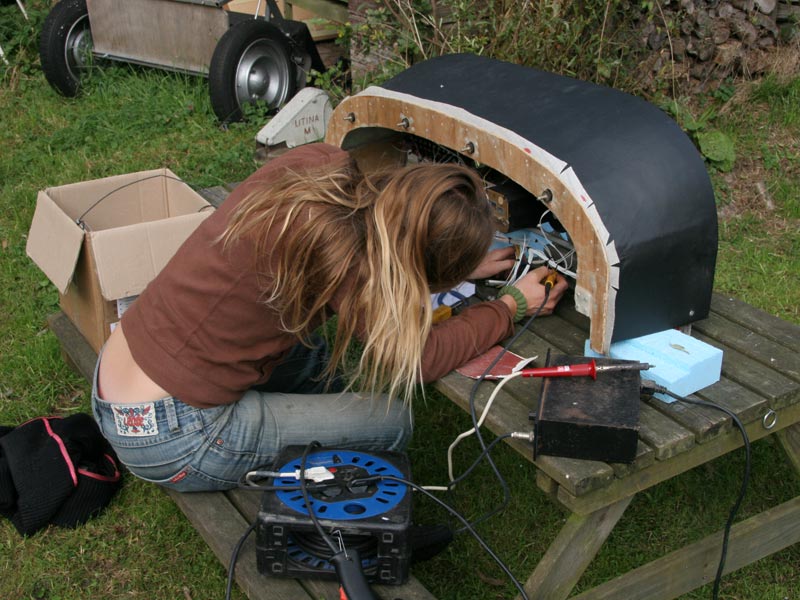
Wiring the instruments in the panel
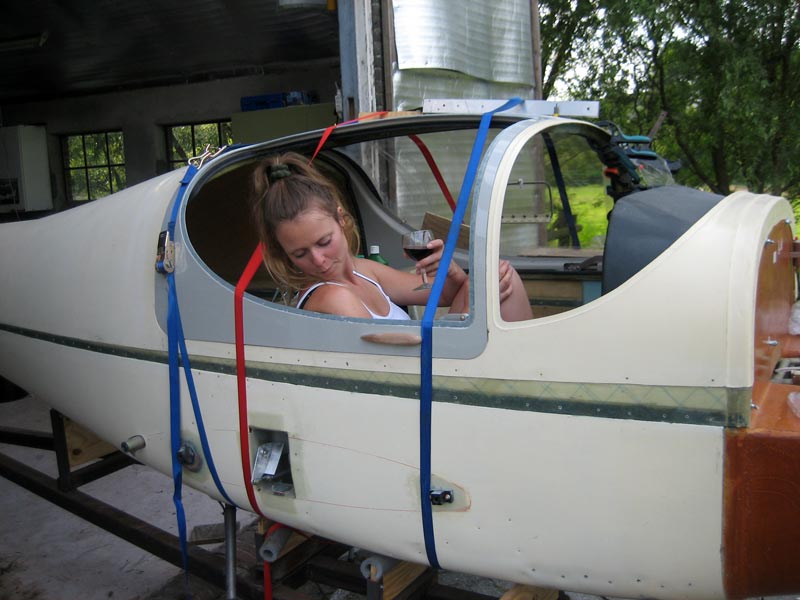
It's starting to look like something :-)
Frans is more comfortable than a pillow ;-)
Fitting the windows with our super handy tool which we actually use and sell for trimming the feet of horses ;-)
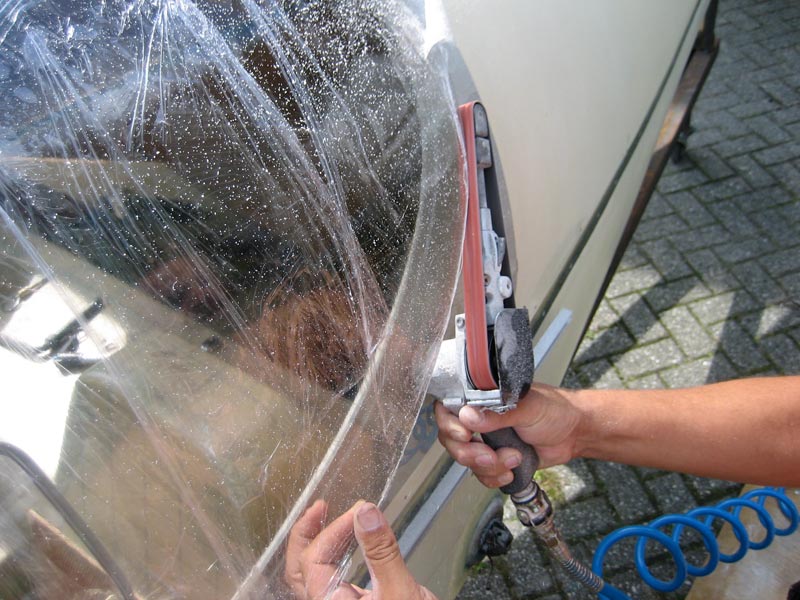
It's a challenge to get the windows nicely fixated
Still two windows to go, but happy with the fit of the first one
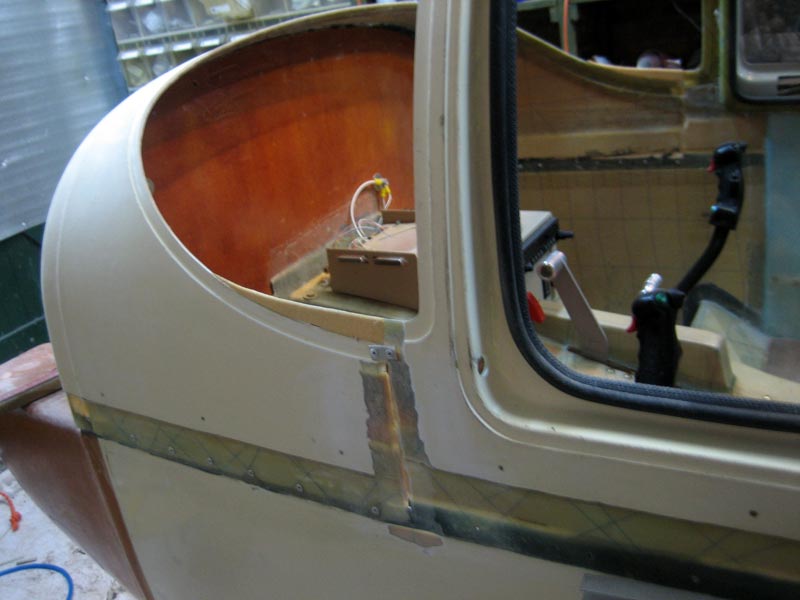
Before fitting in the front window, we decided to lower the front upper fuselage. Note the modified window flange and vertical cut, just prior to bonding.
The cat is convinced that we are doing all this work to improve his favorite sleeping place ;-)
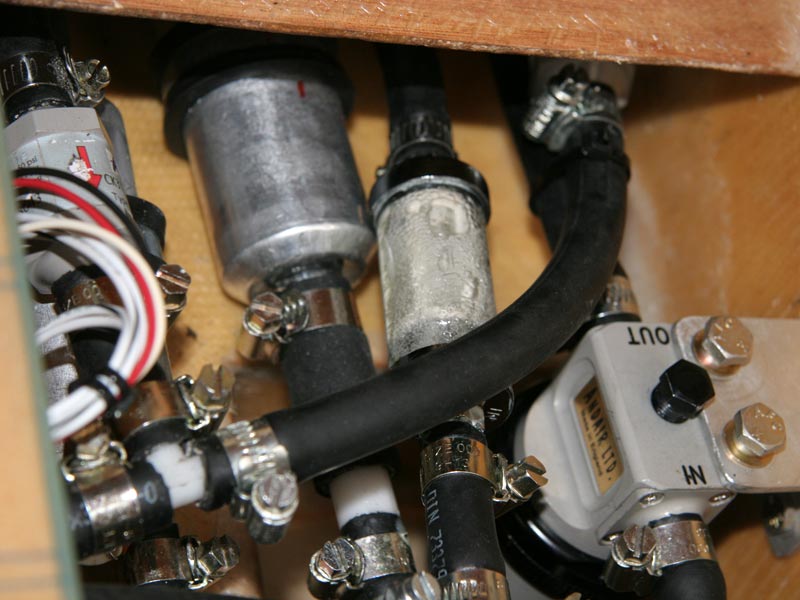
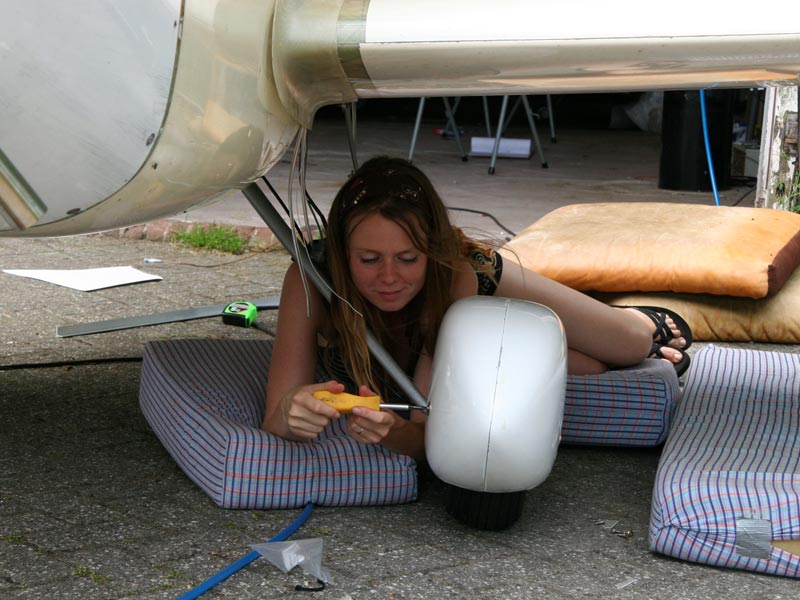
Installation of the fuel system: two fuel pumps, two fuel filters, two one-way valves and two fuel flow sensors
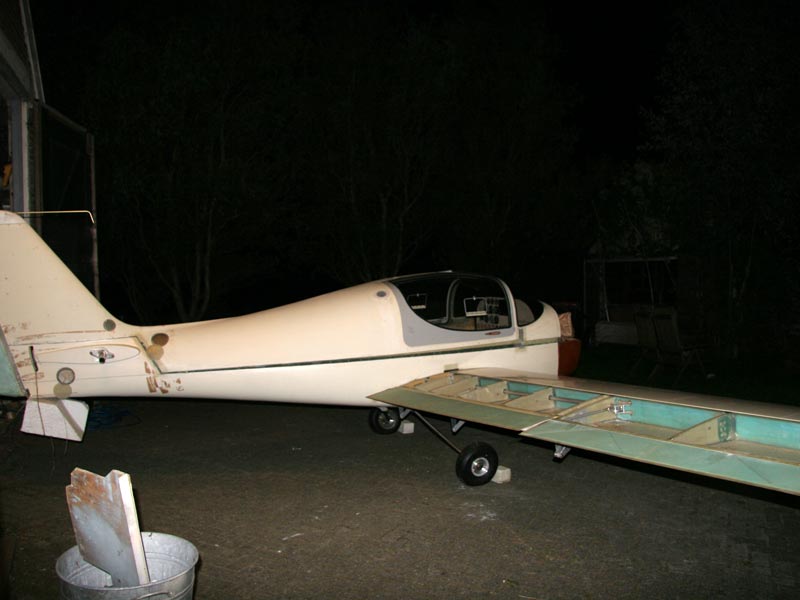
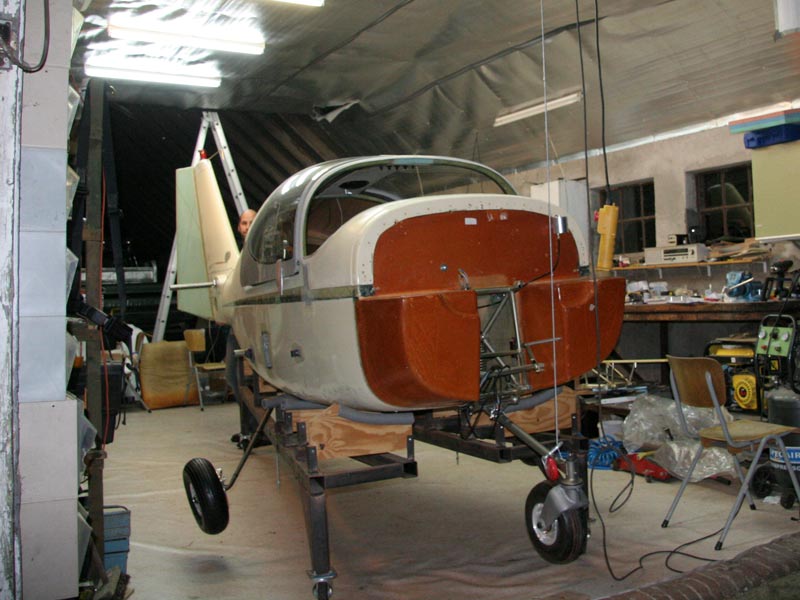
For the first time outside on his own legs!
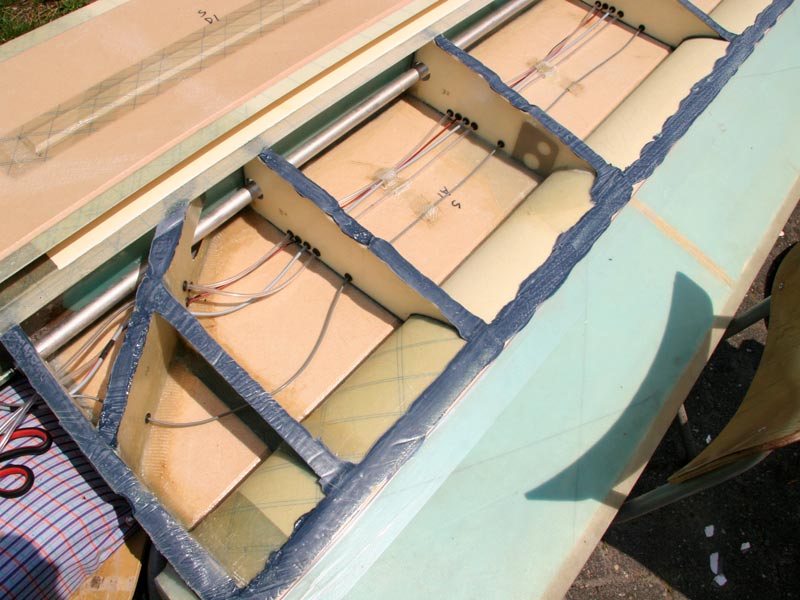
Just prior to closing the wings permanently
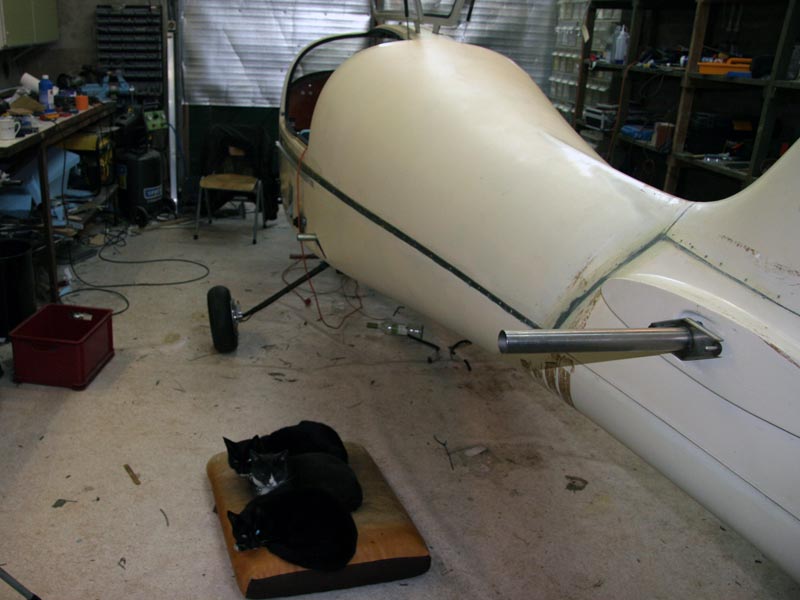
The cats are disappointed that the pillow is on the ground, outside 'their house'.
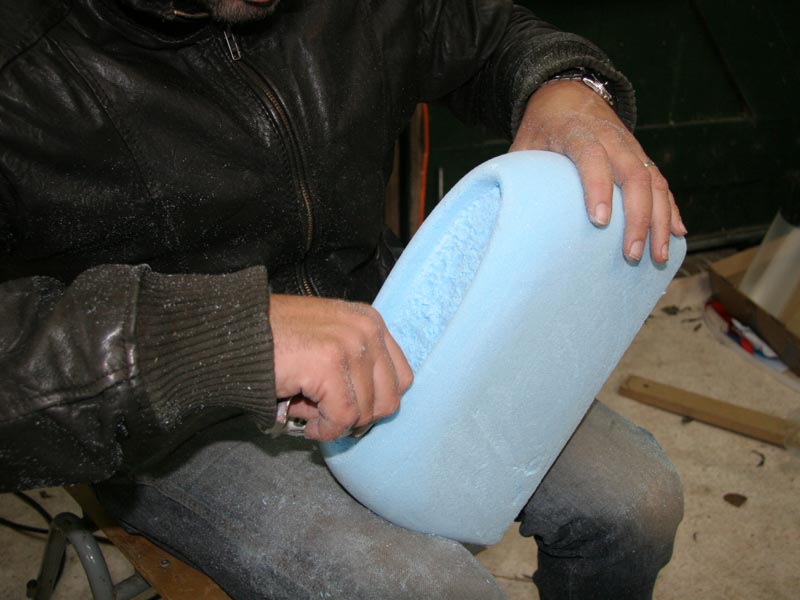
The design of the Europa cowling can be much improved. We decided to dramatically change it; we cut away the cooling duct. Here Frans is creating a new air inlet.
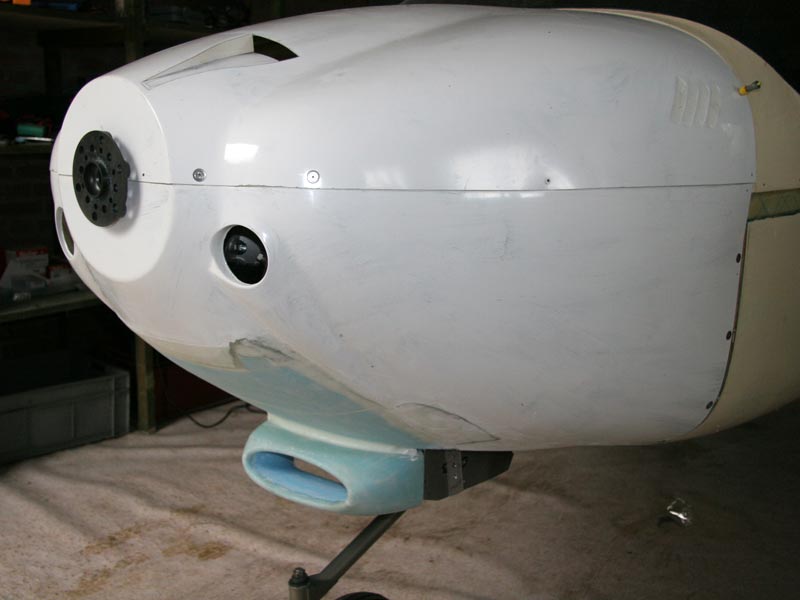
The whole blue area was the former cooling duct. The protruding blue shape is supposed to be the new air inlet.
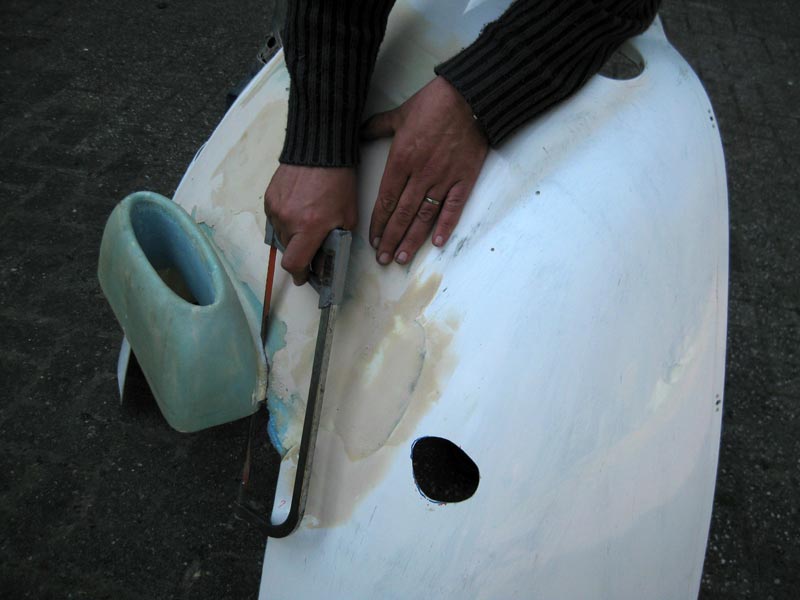
We weren't happy with the result, so we cut it away and started all over again...
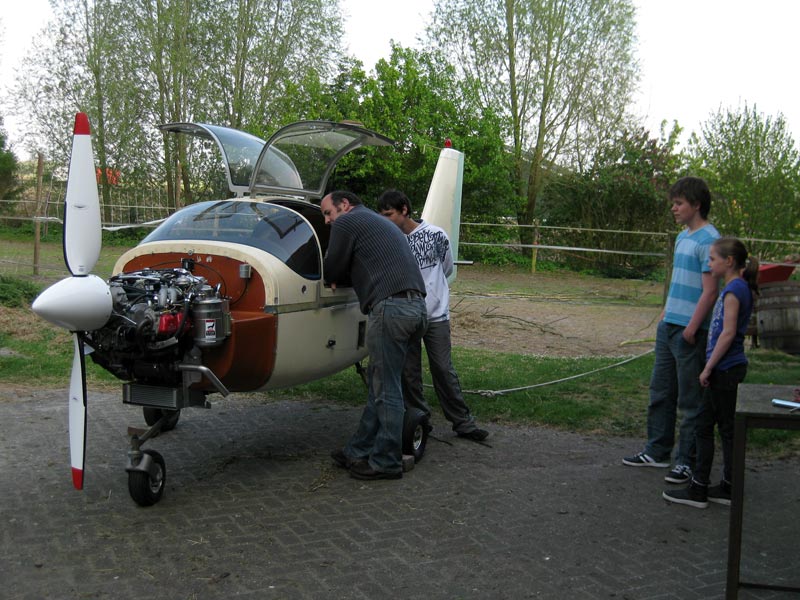
Testrunning the engine attracts some neighbourhood spectators
Wings are closed, wing root fairings can be installed
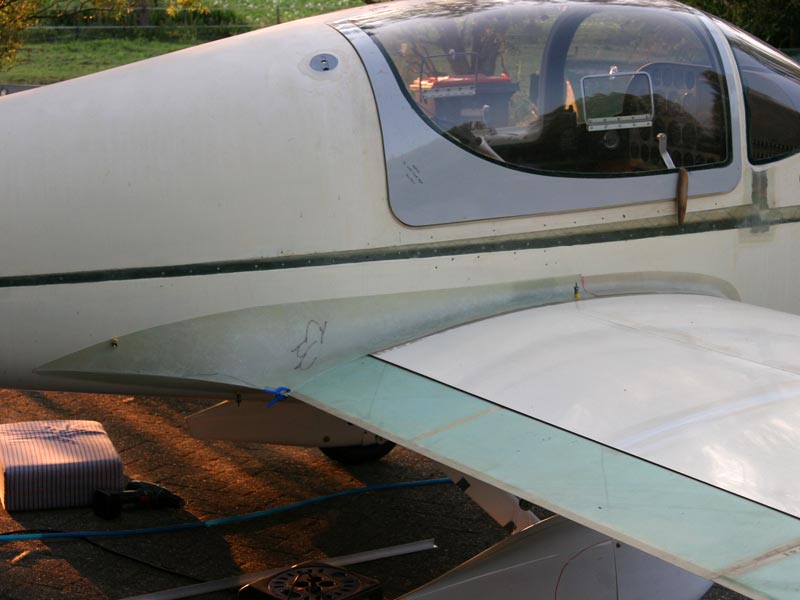
Testfitting the wheelfairings
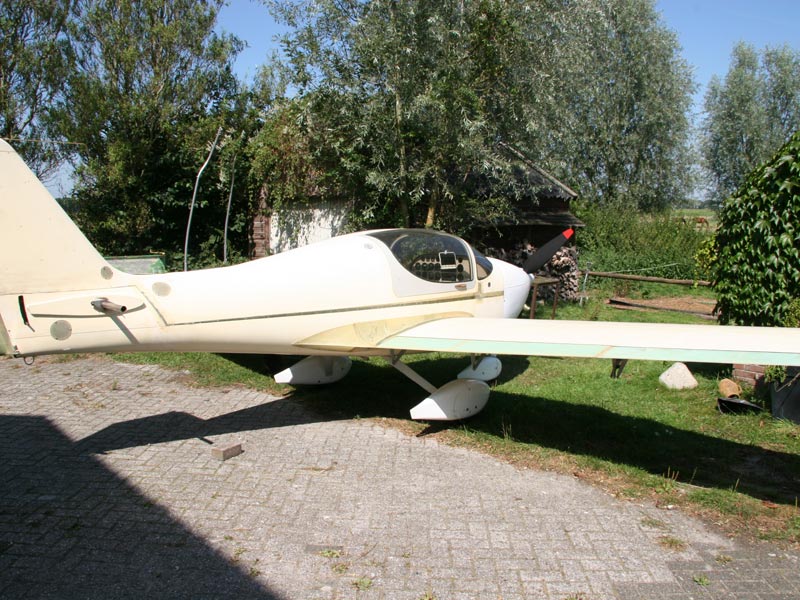
It starts looking like a real airplane
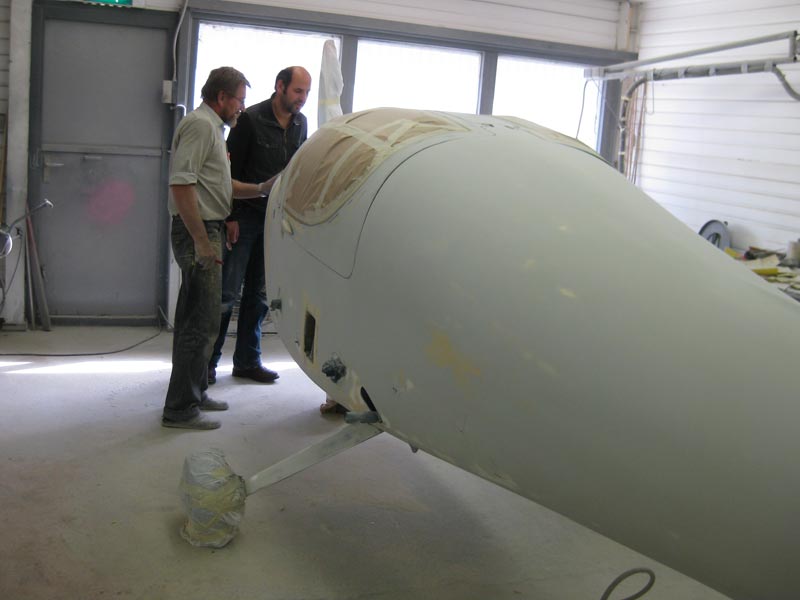
At the paintshop
It should look like this...
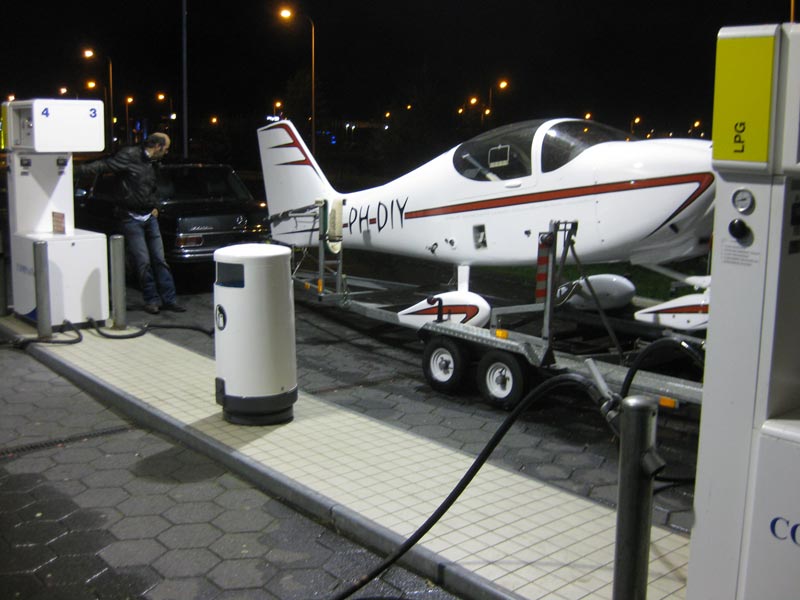
...that worked out! Here we are on our way back home from the paintshop. The wings aren't ready yet but we take the fuselage with us so we can work on it while the wings are also being finished. You now see our callsign: the PH-DIY, which stands for PH (letters for the Netherlands) and Do It Yourself :-D
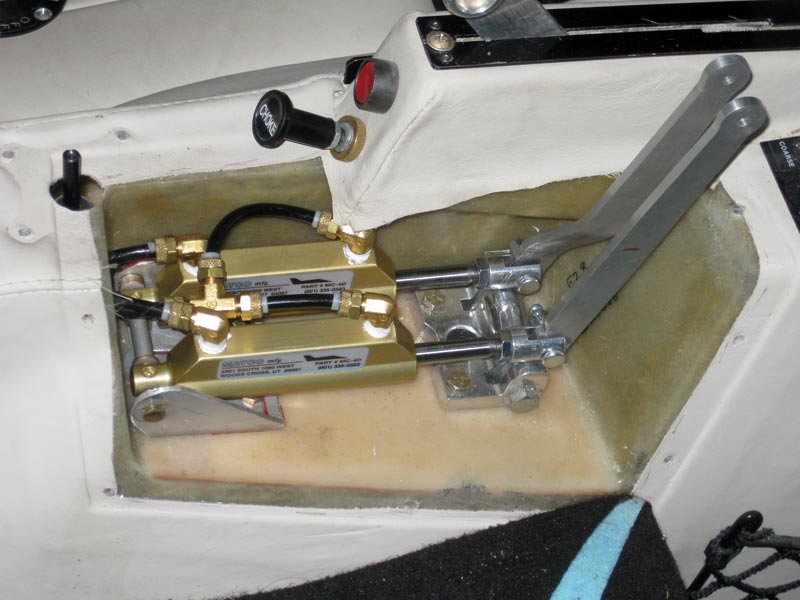
Close to being finished, we decided to get rid of the troublesome supplied brakes and build a new and better braking system.
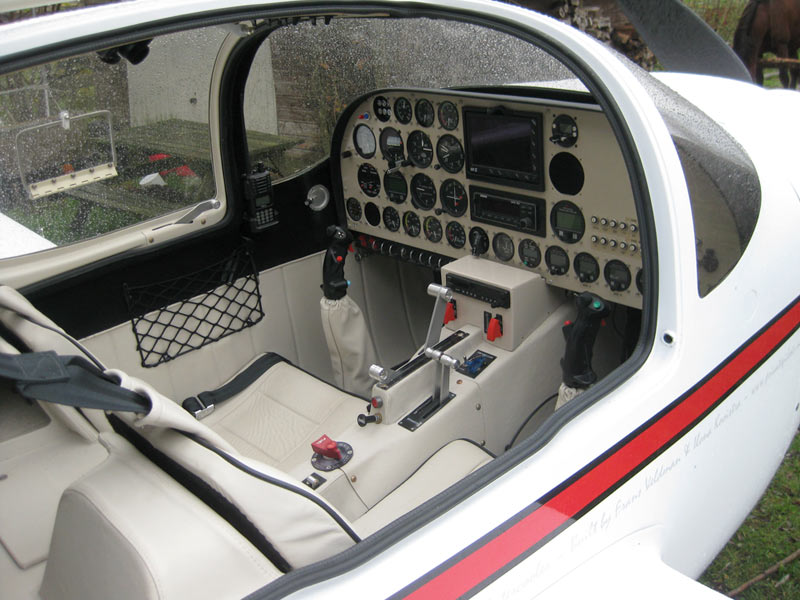
The interior is pretty much done!
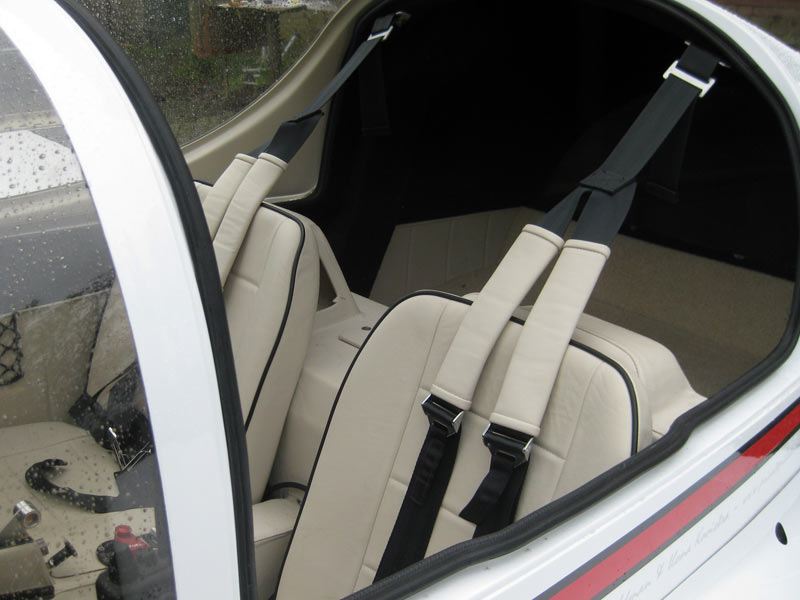
No cats this time, they aren't allowed to sleep here anymore :-( Note our modified harness mounting point to eliminate risk of spinal compression. We also threw away the supplied harnesses because the new ones are much safer (quick release) and easier to use.
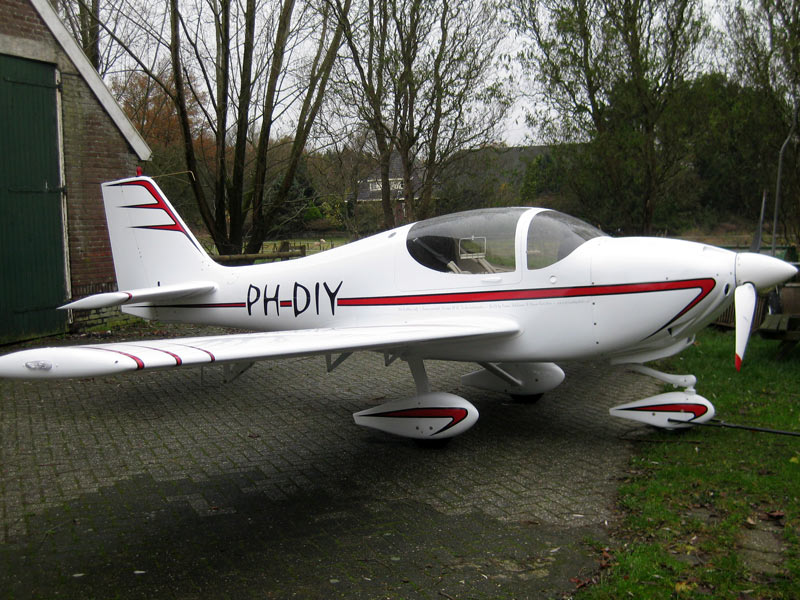
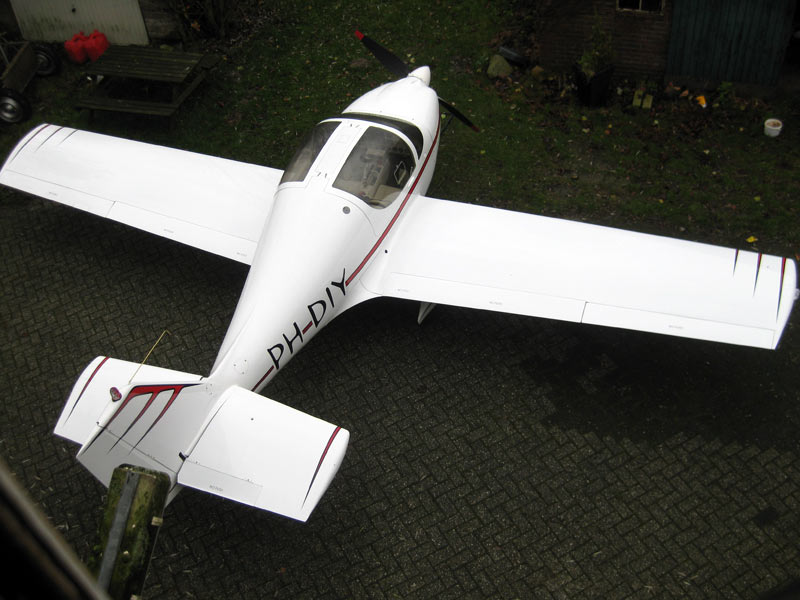
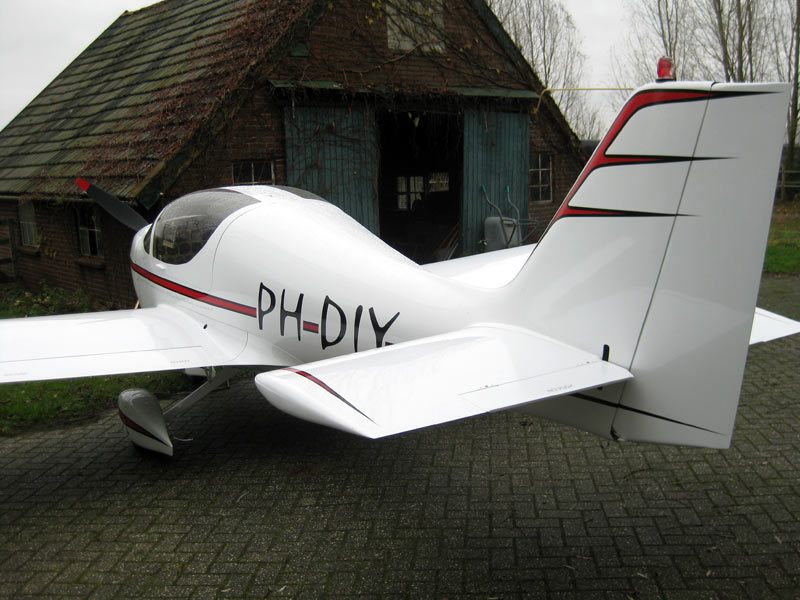
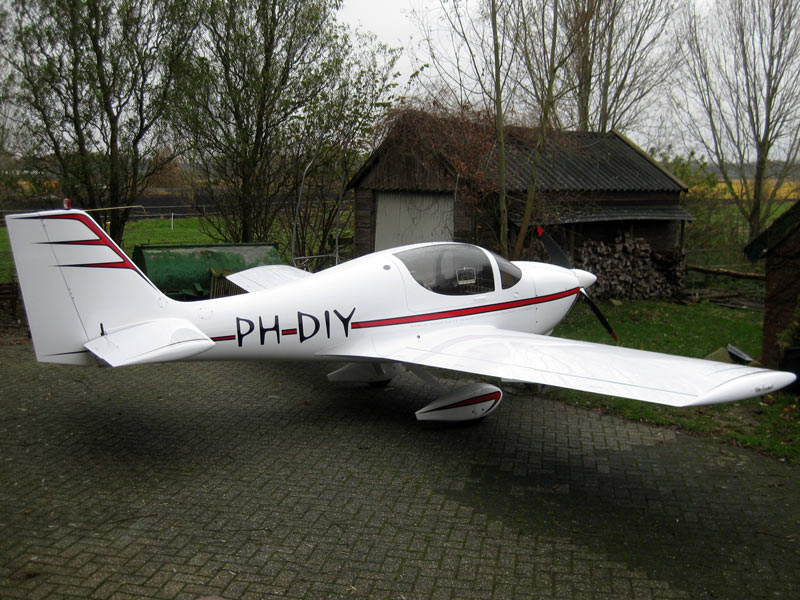
November 2009: The wings are ready too! Something different than the canoe, don't you think? It looks like it actually will be able to fly!
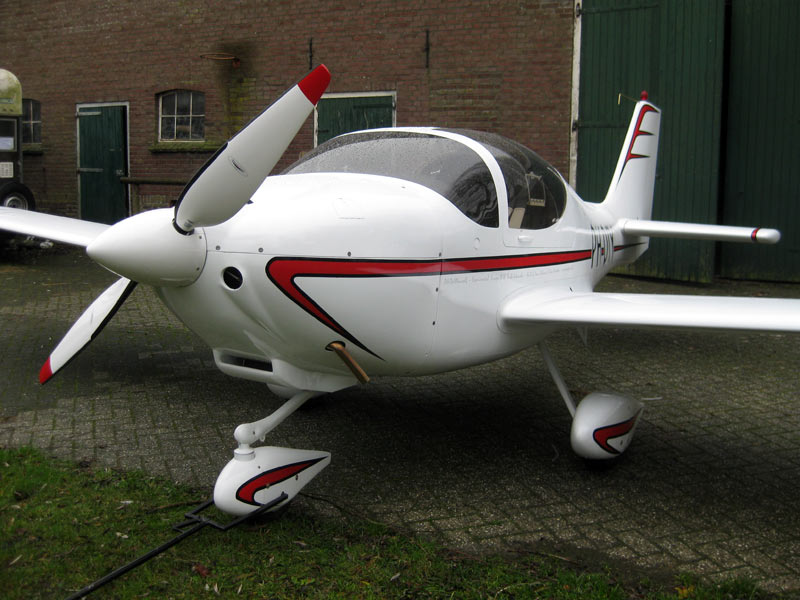
A picture of the final front view. The new cowling looks much better, if you ask me.
Those wing root fairings are SO beautiful... (thanks, Fred)
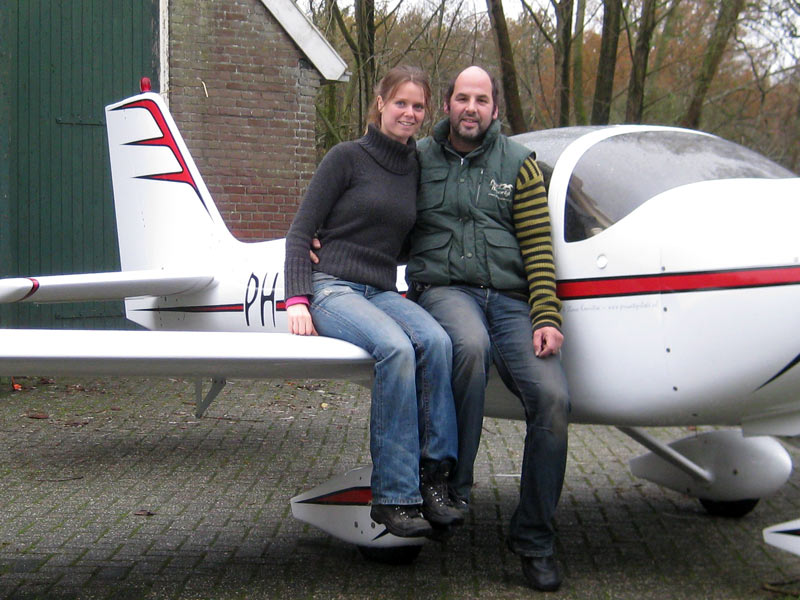
Happy builders :-)